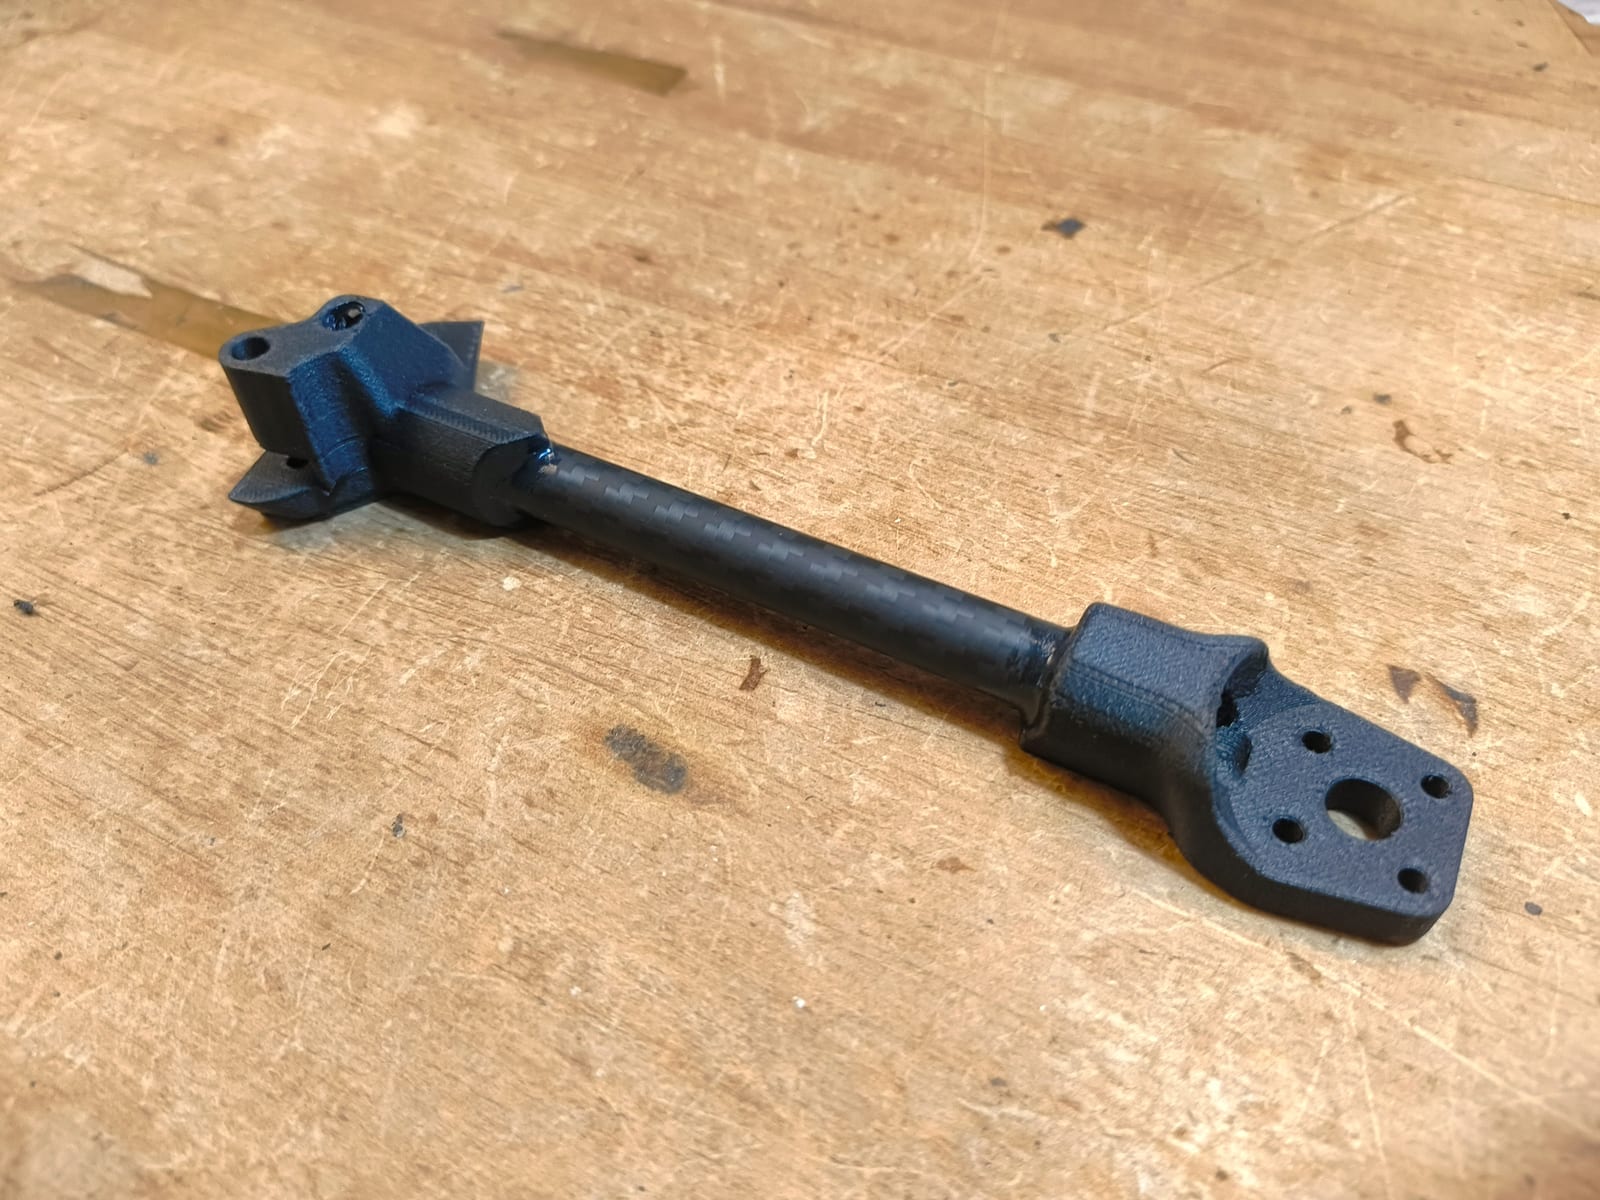
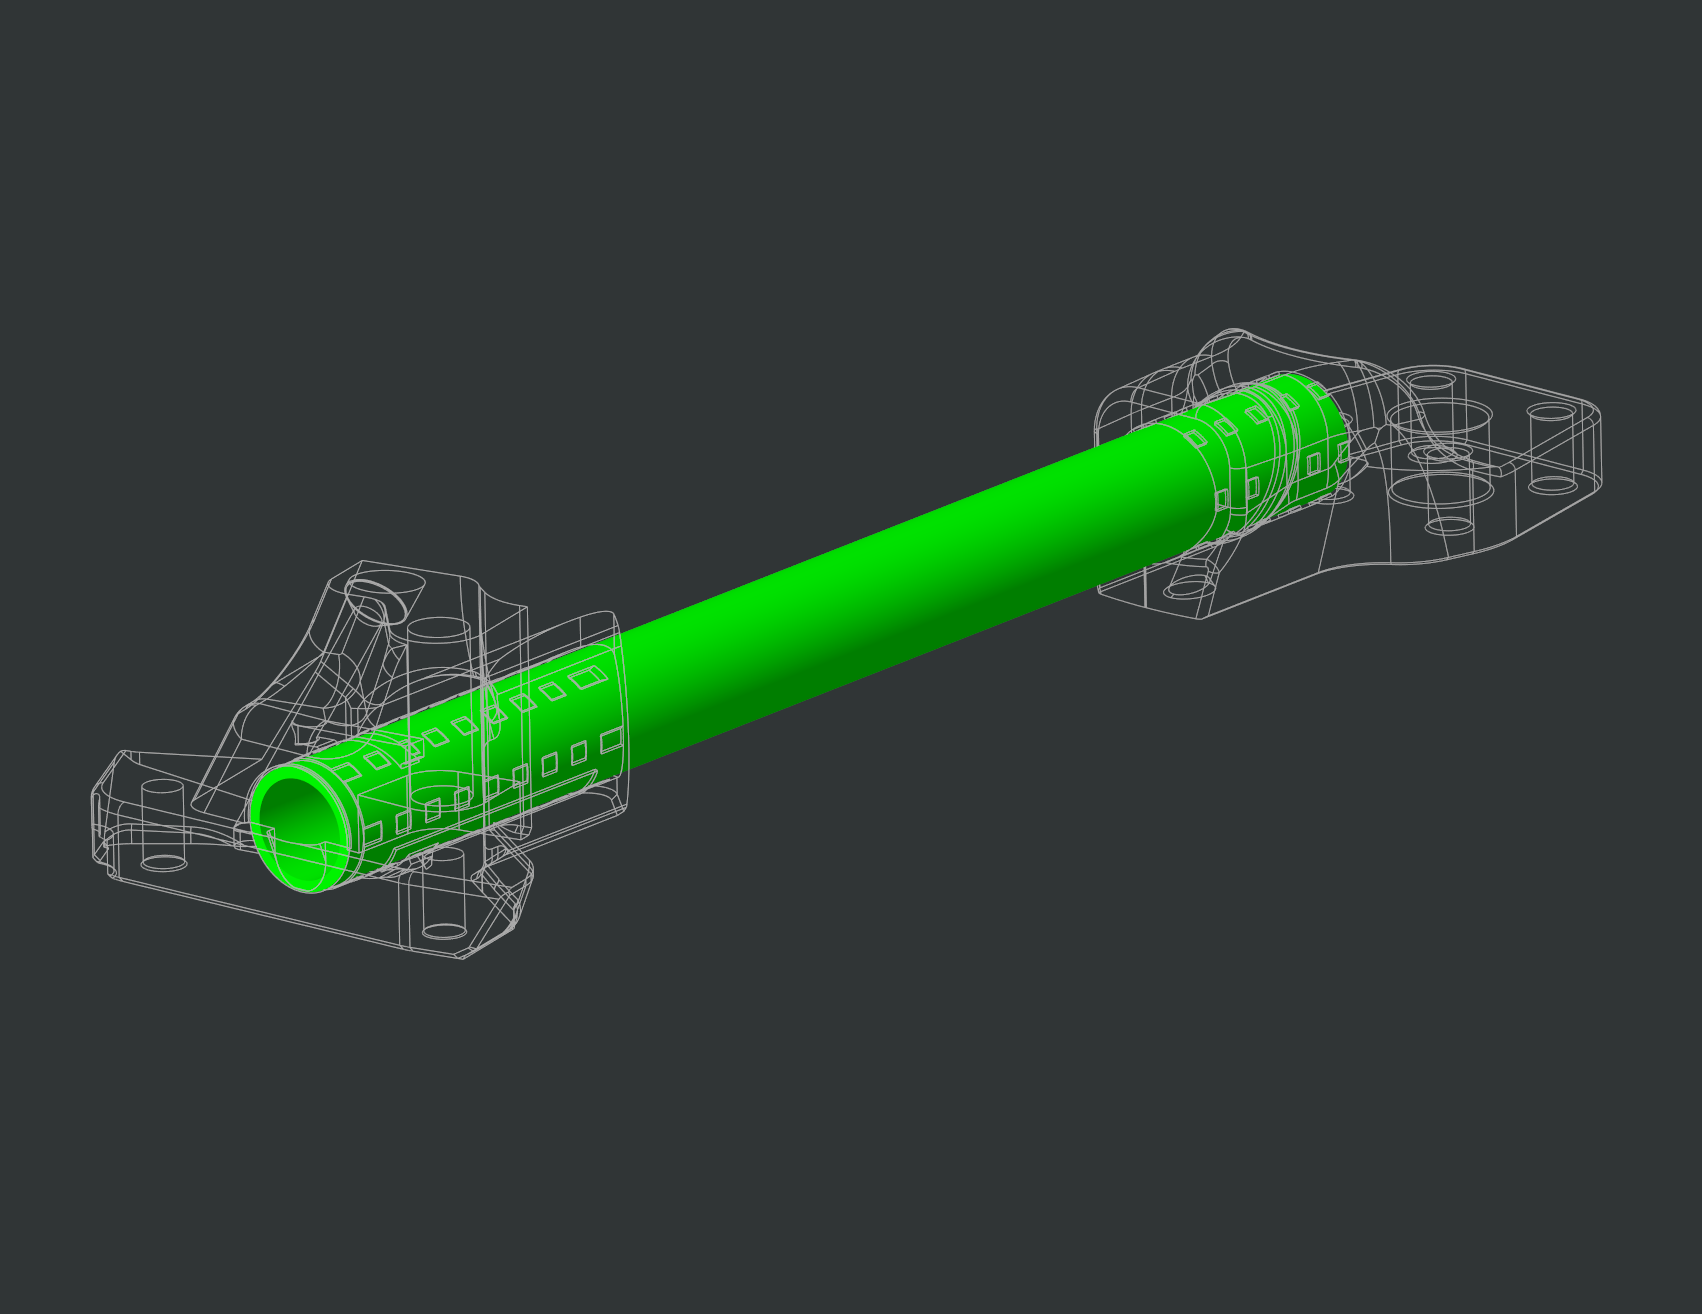
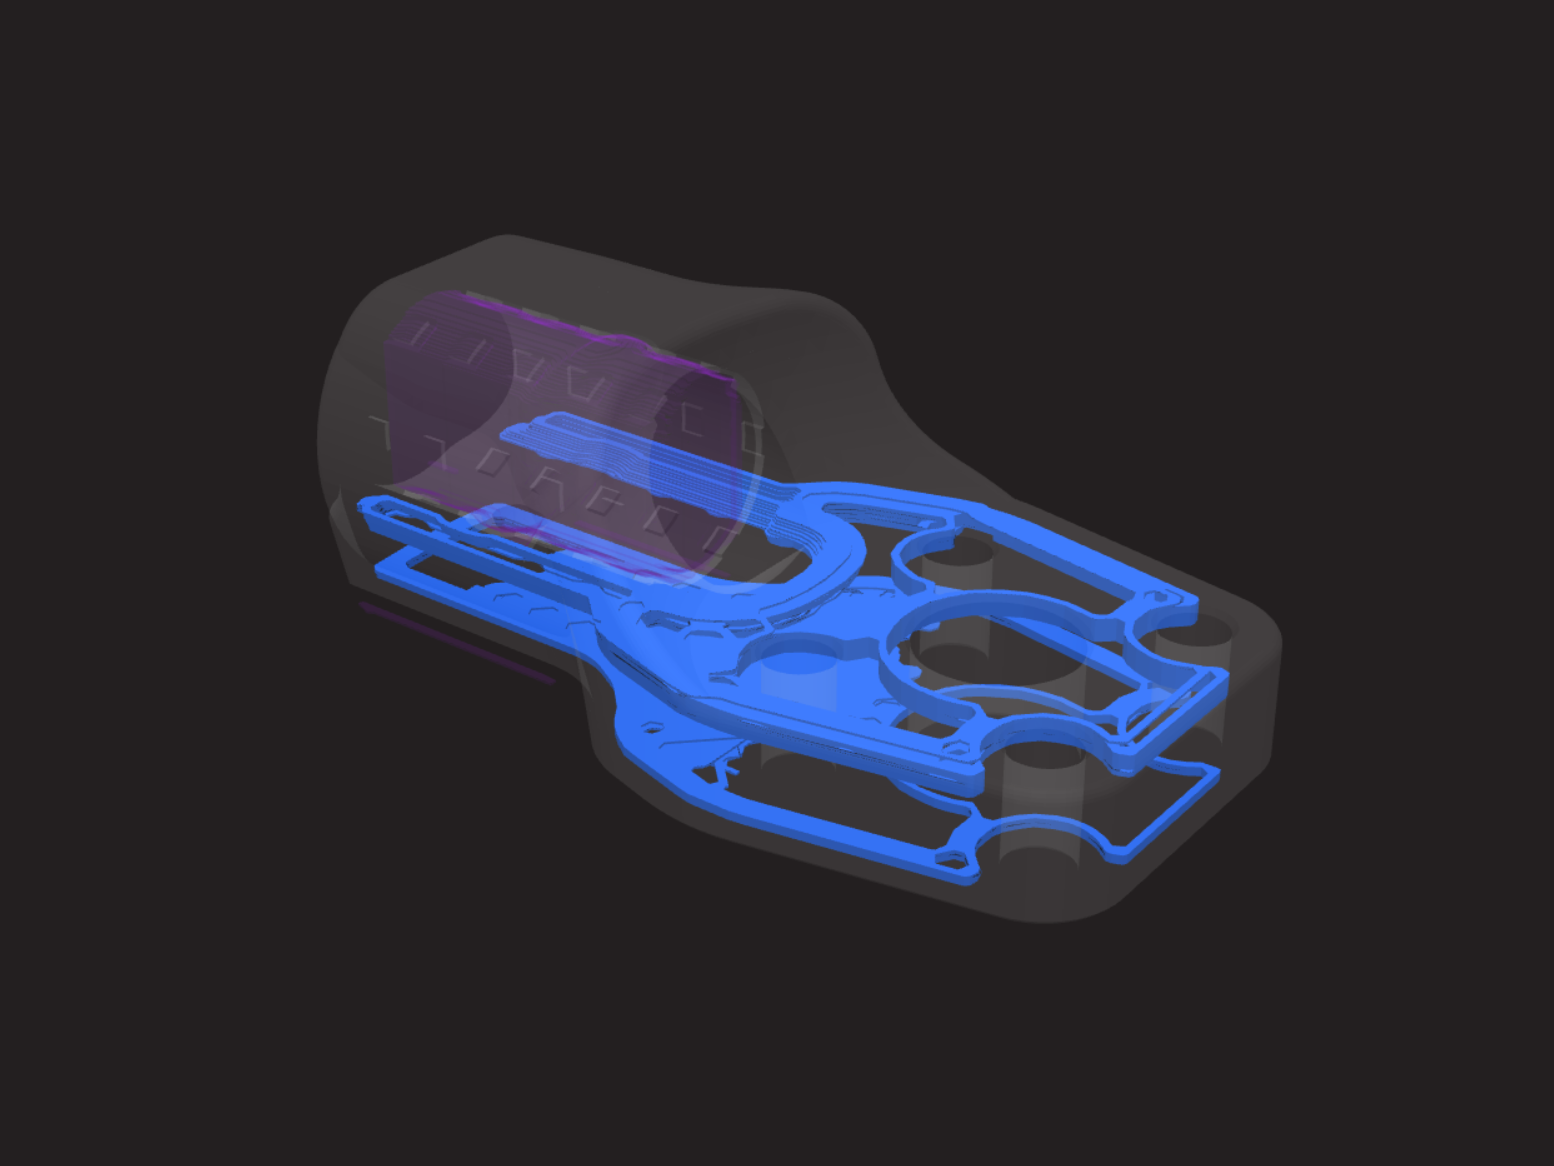
Arm Bonding
The most critical step in your build. Each arm is a carbon tube bonded between a motor mount and arm boss using 3M Scotch-Weld DP-490 structural epoxy.
What You Need
| Item | Notes |
|---|---|
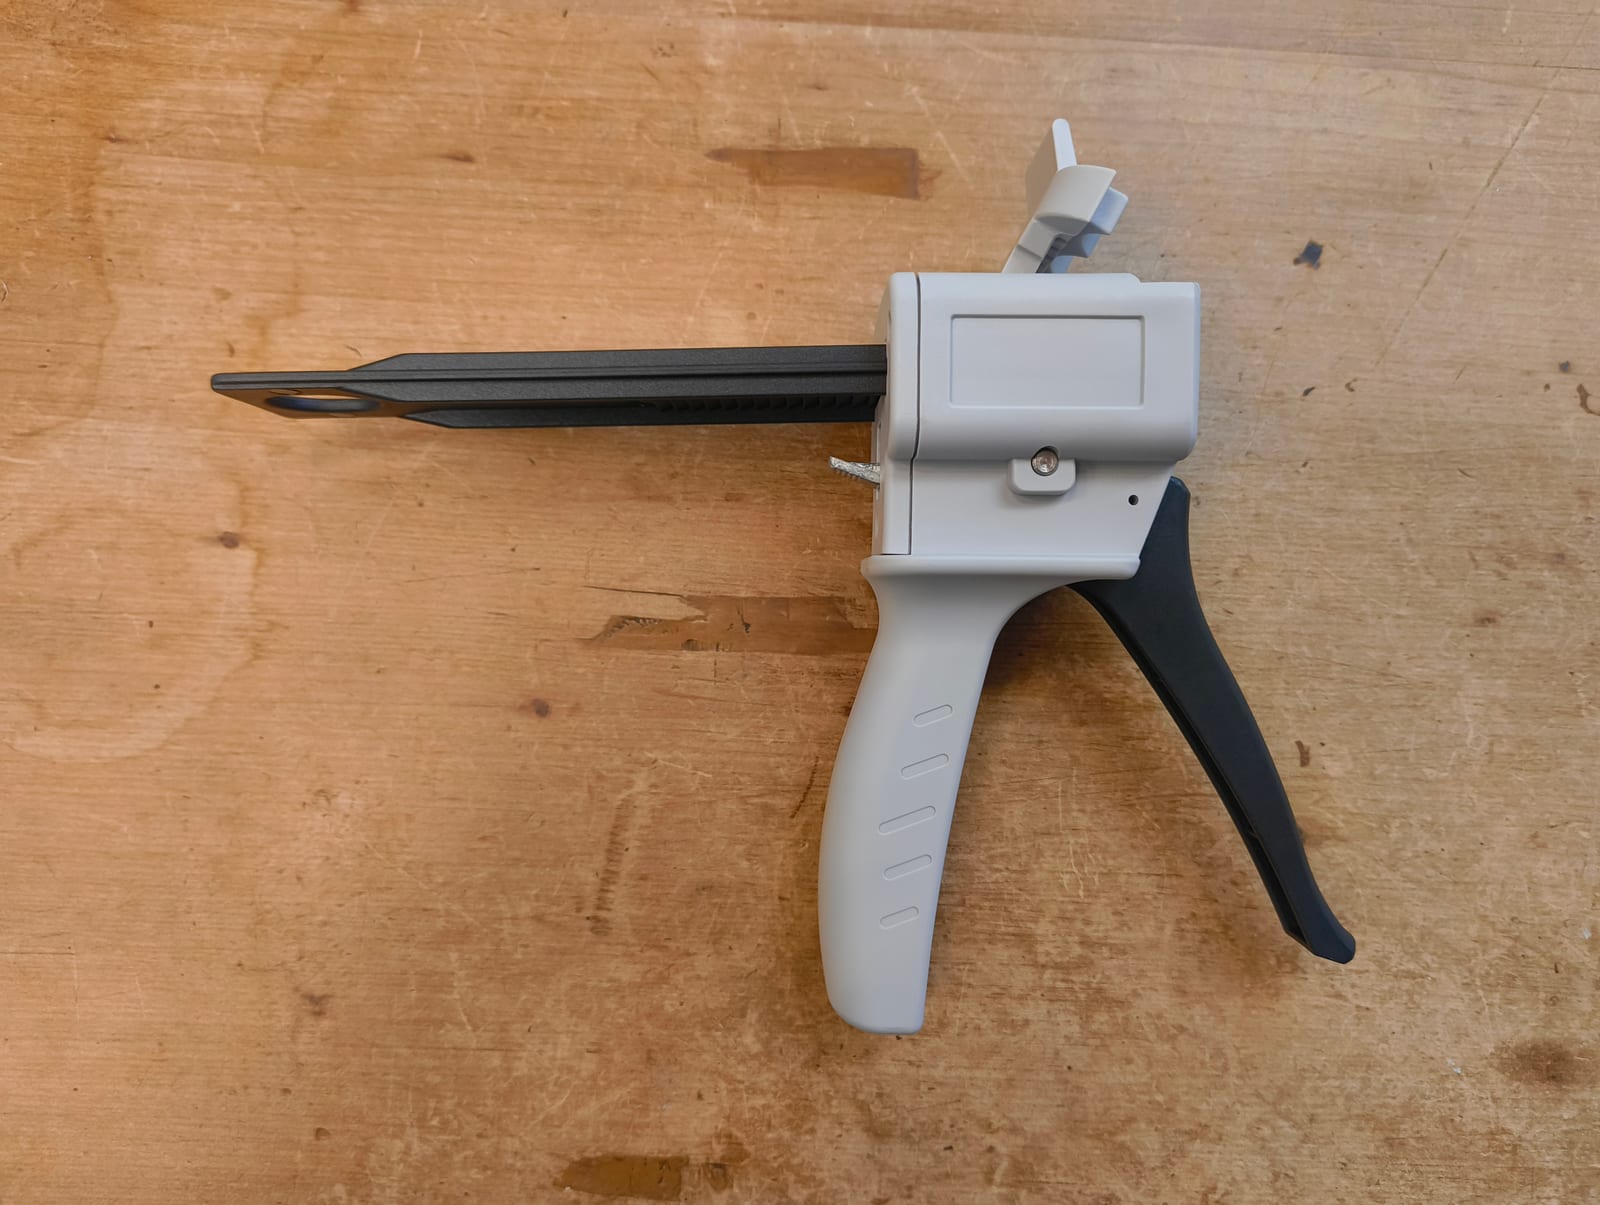
| 3M Scotch-Weld DP-490 Epoxy | Structural adhesive with applicator gun |
| Carbon tubes | 11mm OD, cut to length |
| Cutting jig | Precision cutting tool for carbon tubes |
| Motor mounts | 4x printed in CF-Nylon |
| Arm bosses | 4x printed in CF-Nylon |
| Acetone | Surface prep (preferred) — isopropyl also works |
| Mixing nozzles | Included with DP-490 |
| Spacer block | For alignment (printed or scrap) |
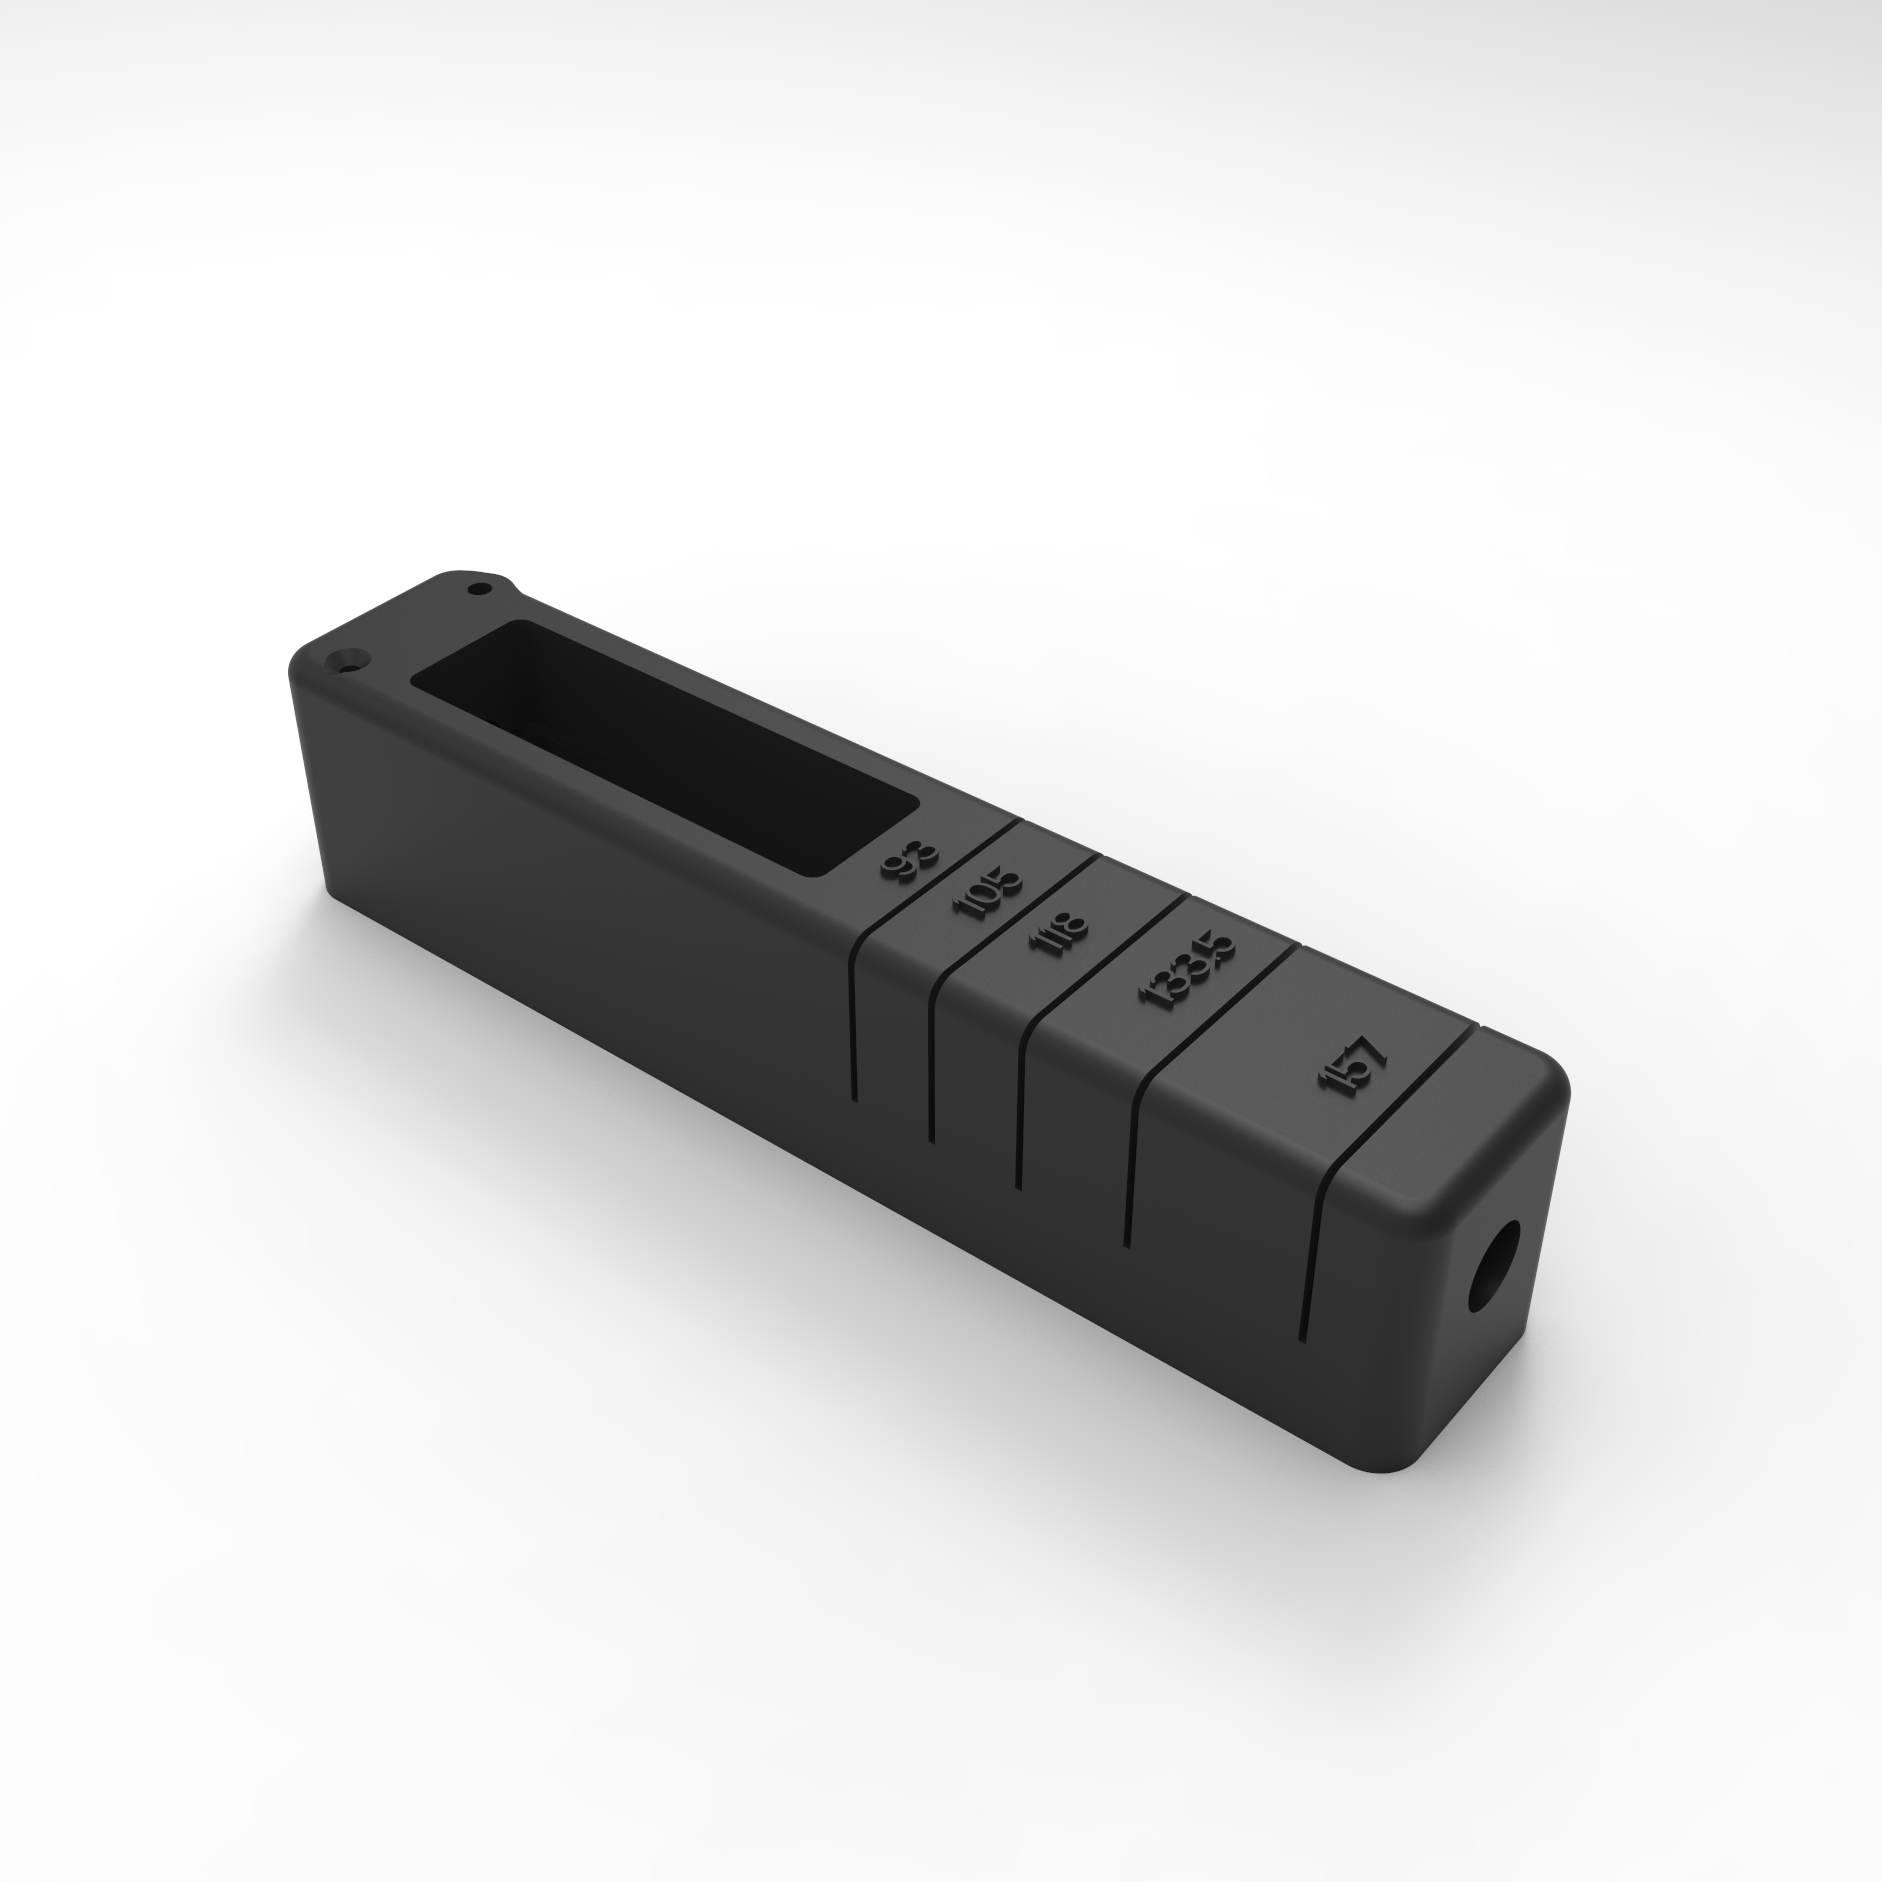
Arm Cutting Jig
This precision jig ensures accurate carbon tube lengths for perfect arm assembly. While the jig improves cutting accuracy and consistency, measuring and cutting by hand is sufficient if you prefer not to print it.
📁 Download Cutting Jig STEP File
Carbon Tube Lengths
Different drone platforms require different arm lengths. Use the appropriate lengths for your platform:
| Platform | Component | Qty | Front Arm Length | Rear Arm Length |
|---|---|---|---|---|
| 6 inch | Carbon Tubes | 4 | 93mm | 118mm |
| 7 inch | Carbon Tubes | 4 | 105mm | 134mm |
| 8 inch | Carbon Tubes | 4 | 133mm | 157mm |
Choose the correct arm lengths based on your motor-propeller combination and desired flight characteristics. The 6-inch platform is more compact and maneuverable, while the 7-inch platform offers better stability and payload capacity.
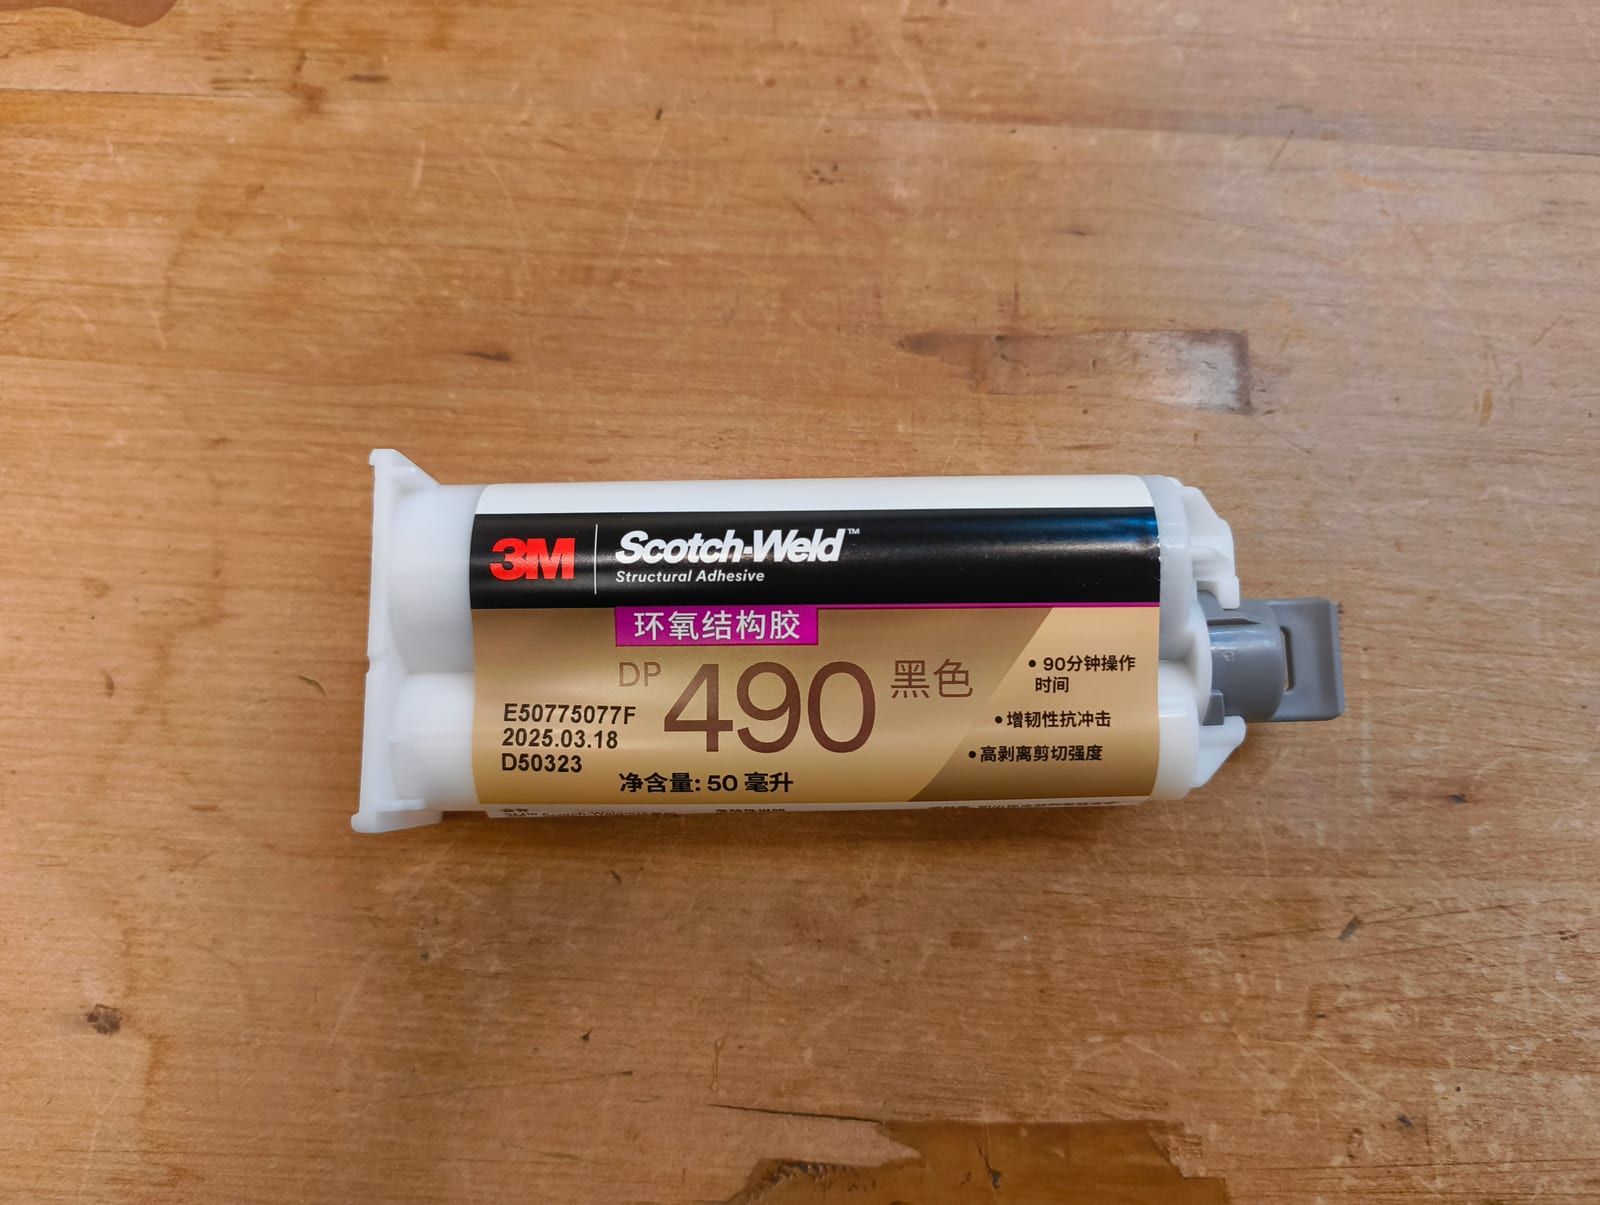
The Epoxy System
We use 3M Scotch-Weld DP-490 structural epoxy applied with a manual applicator gun. This two-part adhesive provides exceptional bond strength for carbon-to-nylon joints.
If you can't source DP-490, these 2-part structural epoxies also work well:
- Gorilla 2-Part Epoxy
- Pattex Epoxy
- UHU Plus
- Loctite Epoxy
Any quality 2-part epoxy with good adhesion to plastics and composites will work. Avoid quick-set formulas — you need working time for alignment.
Process
1. Small Batches
Work on 1-2 arms at a time.
Alignment is more important than speed. DP-490 gives you approximately 90 minutes of working time, but don't rush—get each arm right before moving on.
2. Surface Prep
- Scuff bond areas with 120-grit sandpaper
- Clean all surfaces with acetone (preferred) or isopropyl alcohol
- Let dry completely
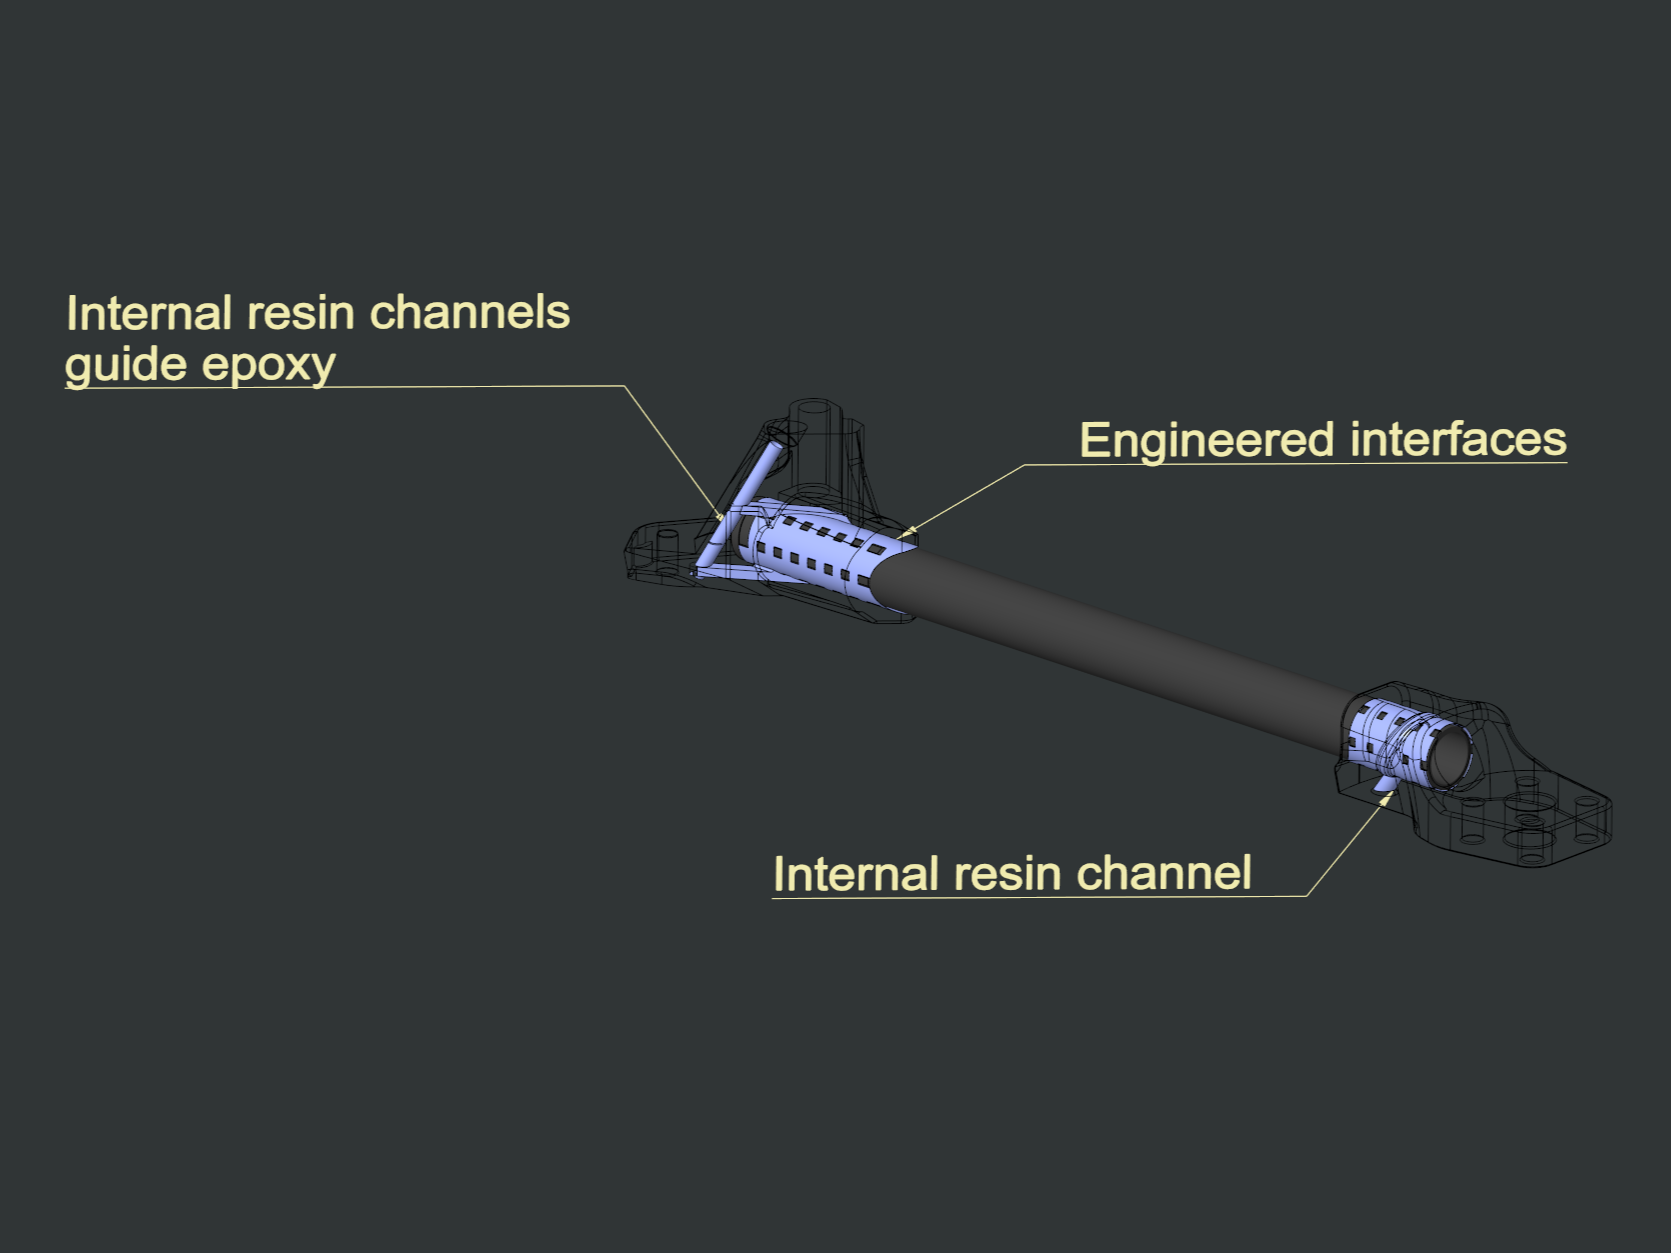
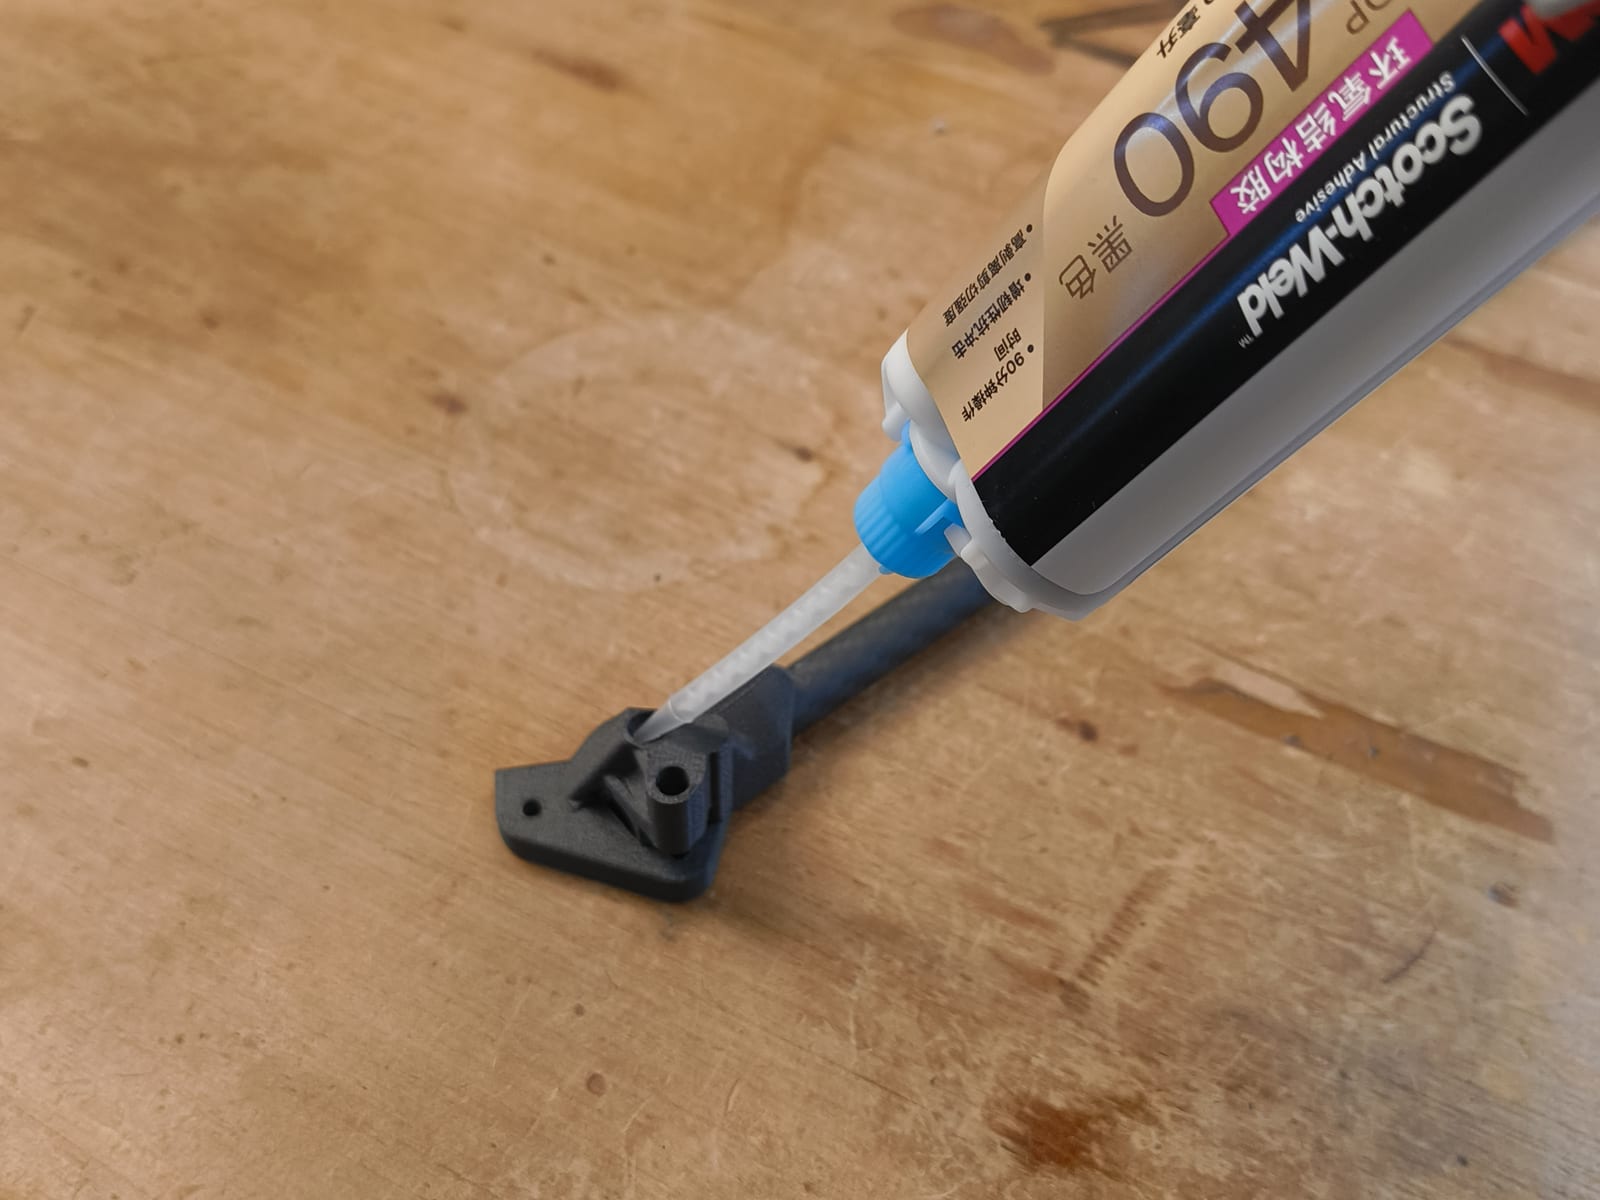
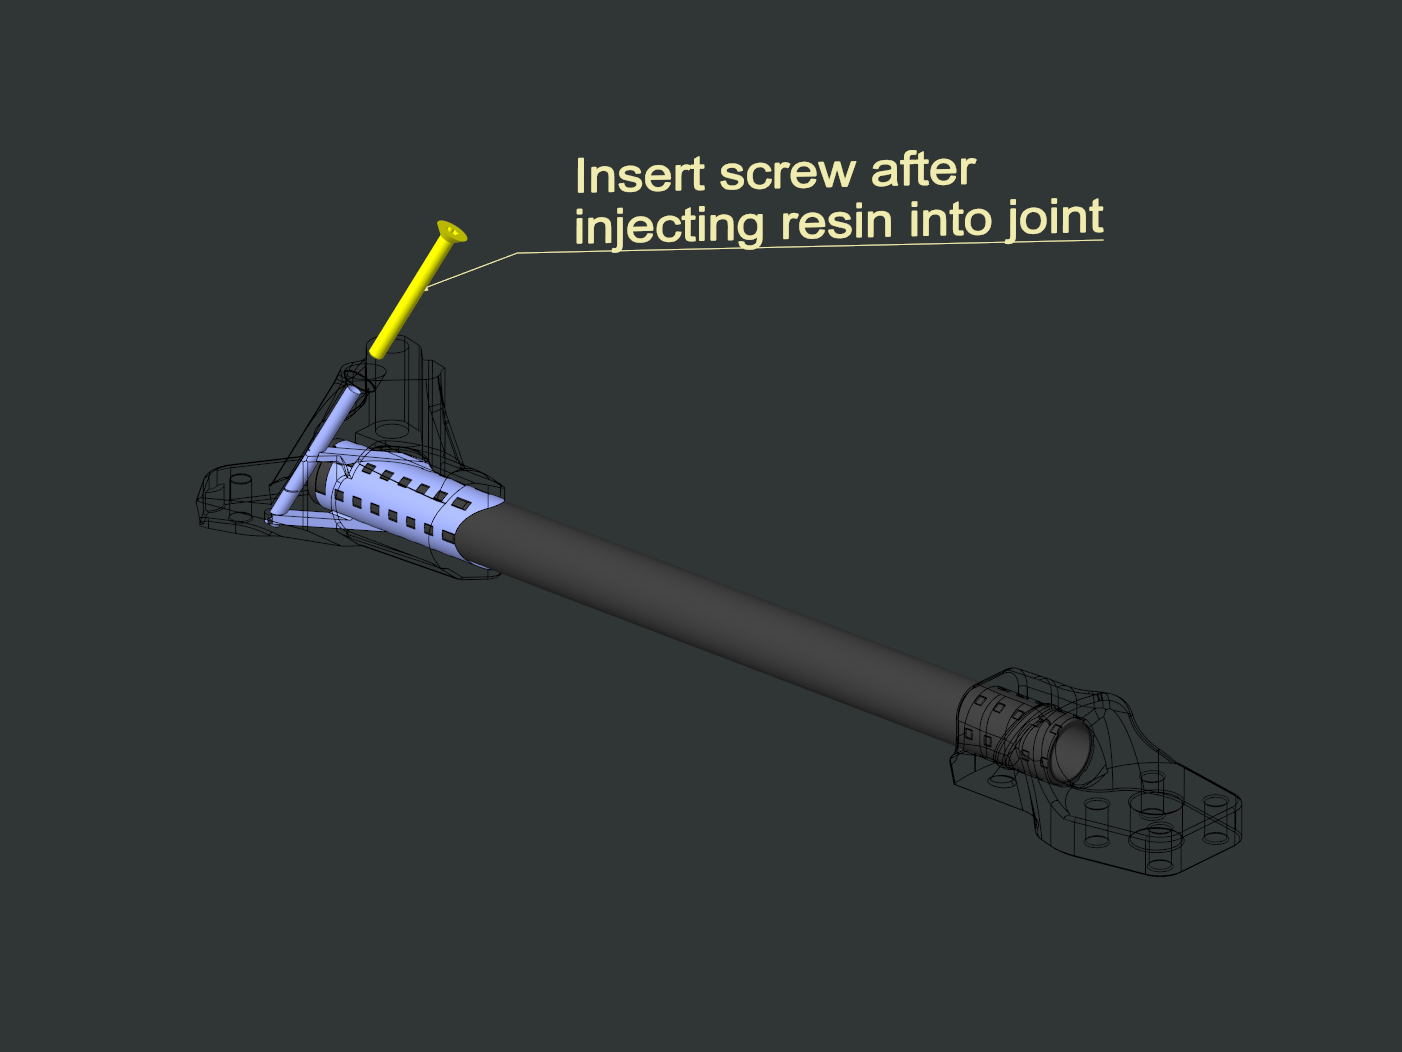
3. Epoxy Injection System
The CF-Nylon motor mounts feature internal injection ports that perfectly distribute epoxy around the carbon tube. This design ensures complete, void-free coverage of the bond surface.
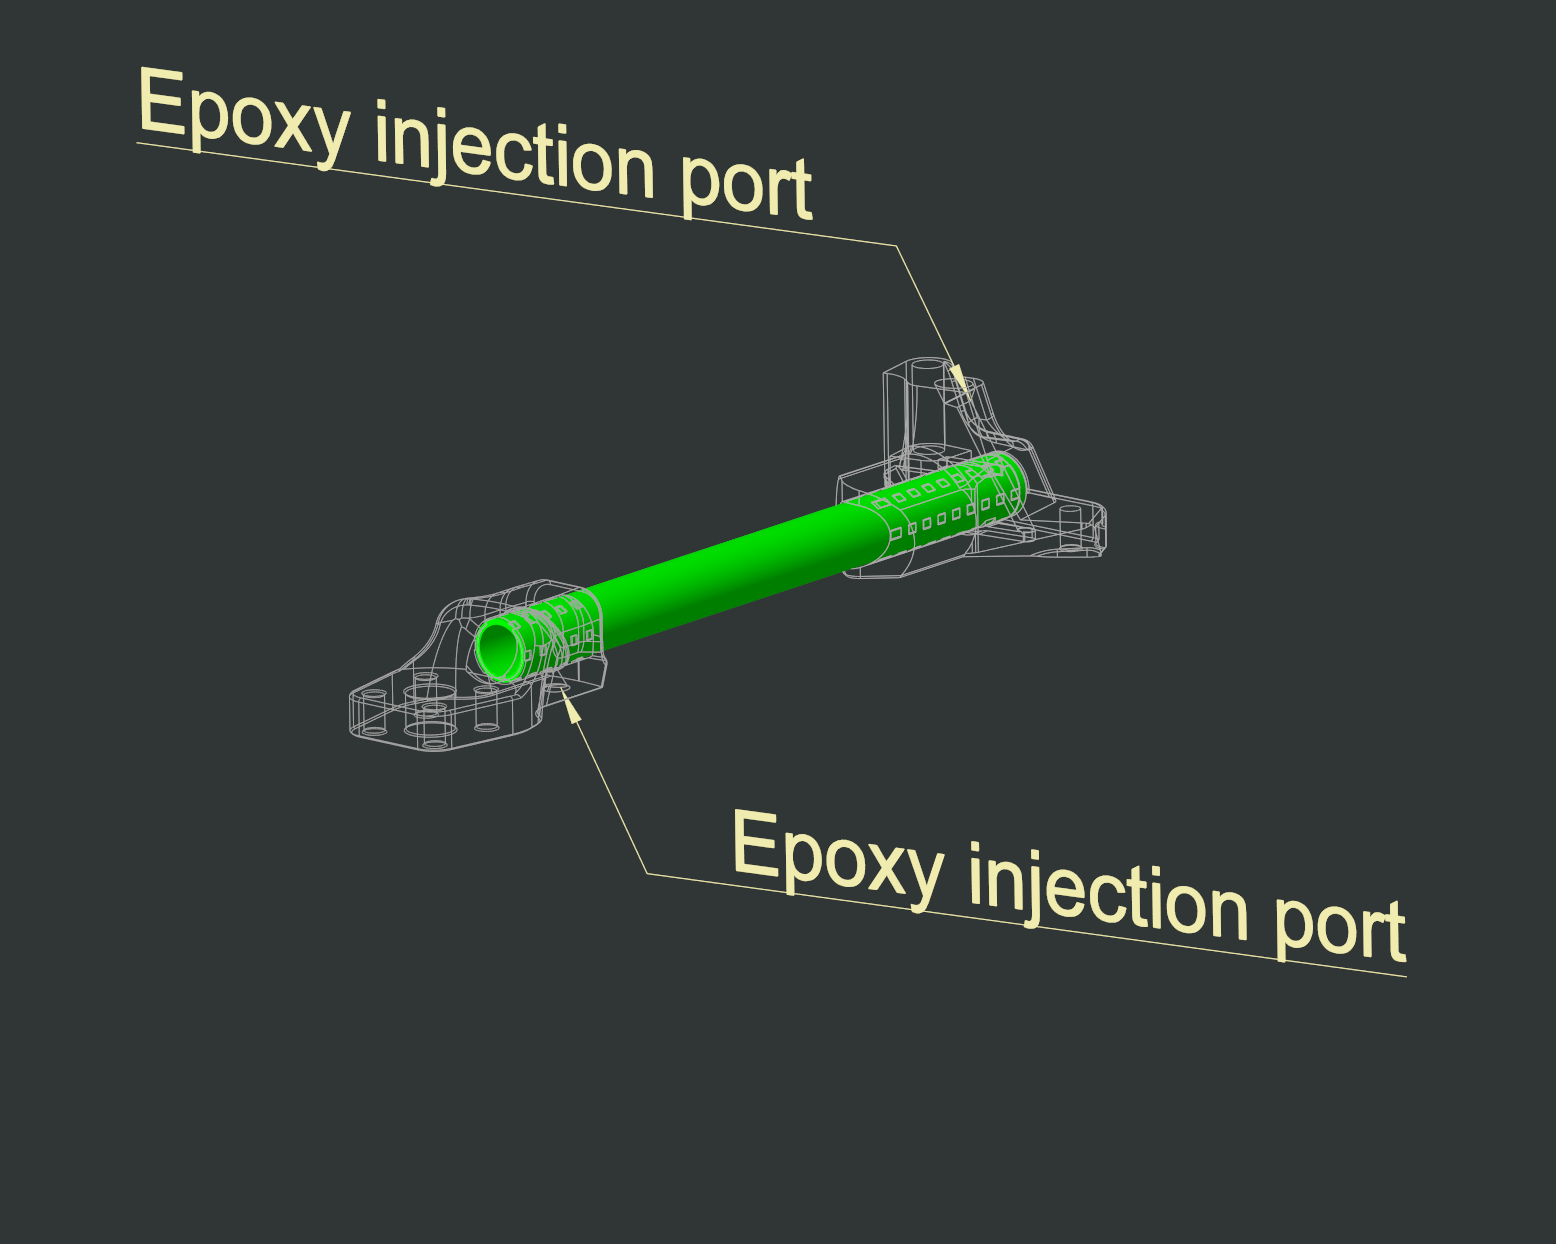
Injection Process
- Insert the carbon tube into the motor mount socket until seated
- Attach the mixing nozzle to your DP-490 cartridge
- Insert the nozzle tip into the injection port
- Slowly inject epoxy until you see it appear at the opposite end
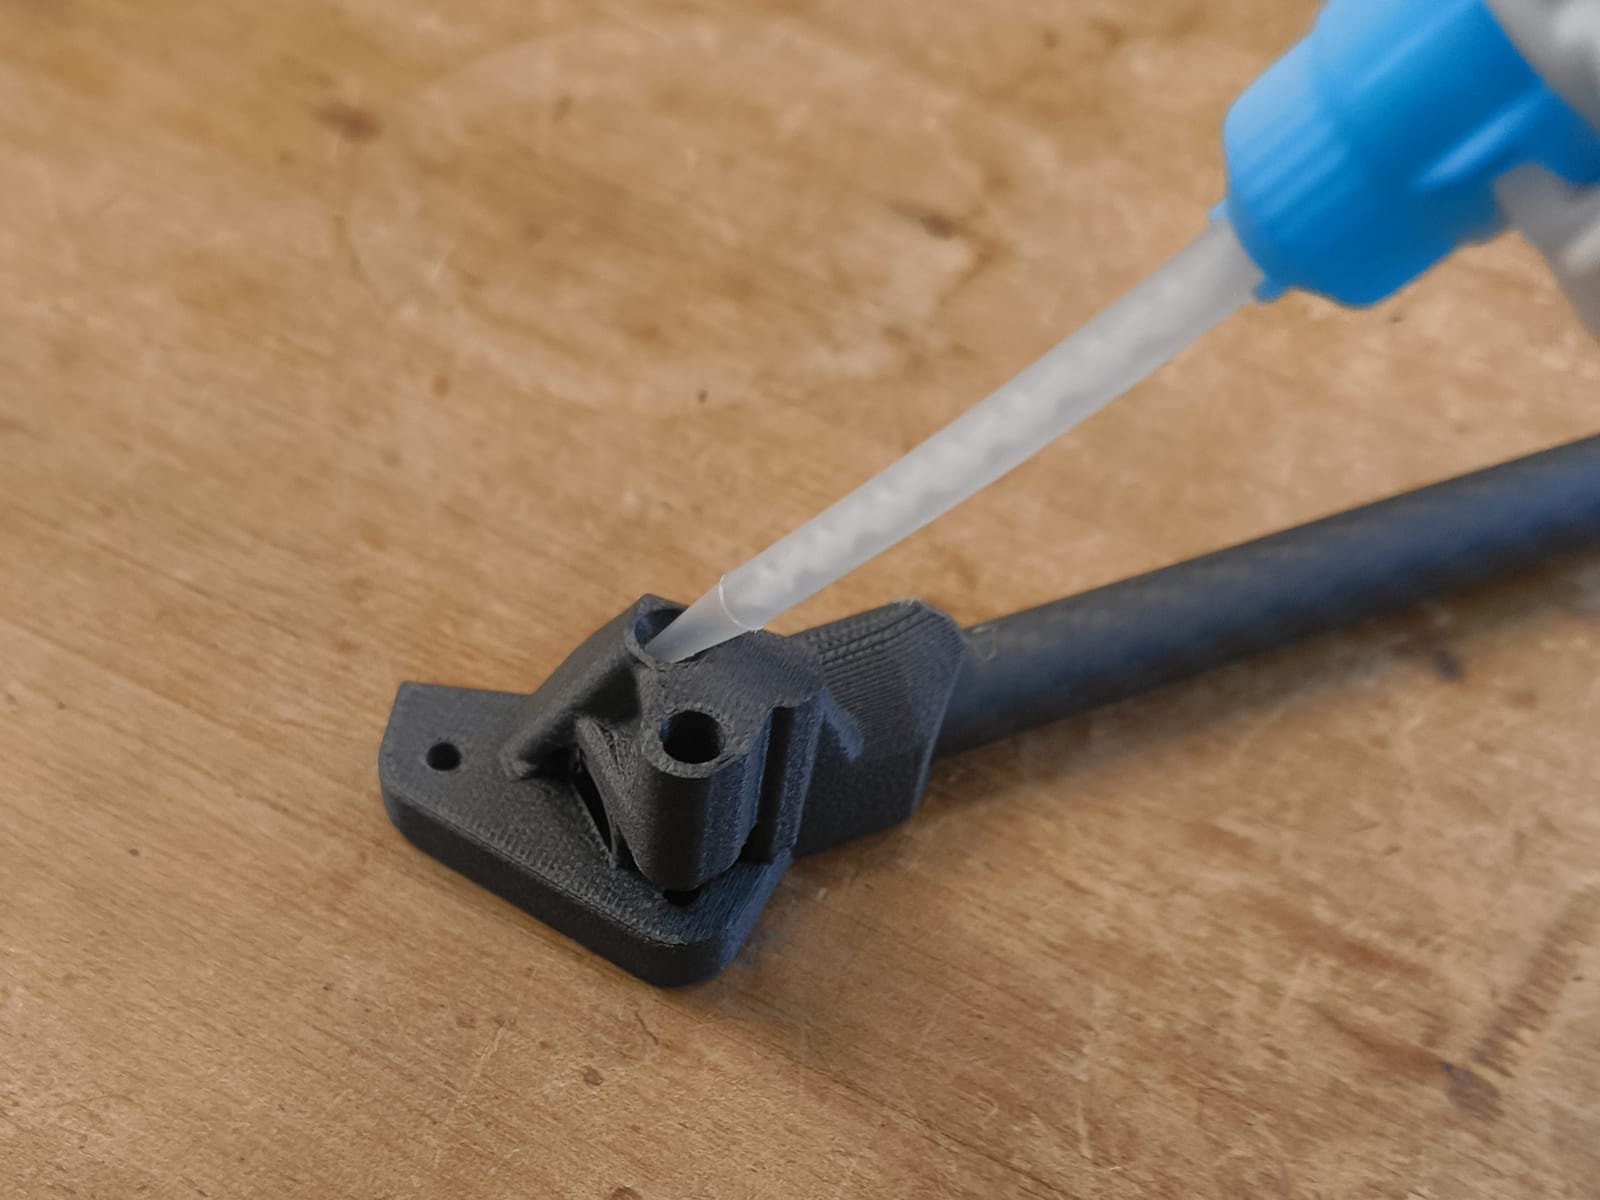
The internal channels ensure epoxy flows completely around the tube, creating a stronger bond than traditional surface application.
Inject slowly and steadily. You'll see epoxy appear at the gap between the tube and socket when the cavity is full. Stop injecting at this point.
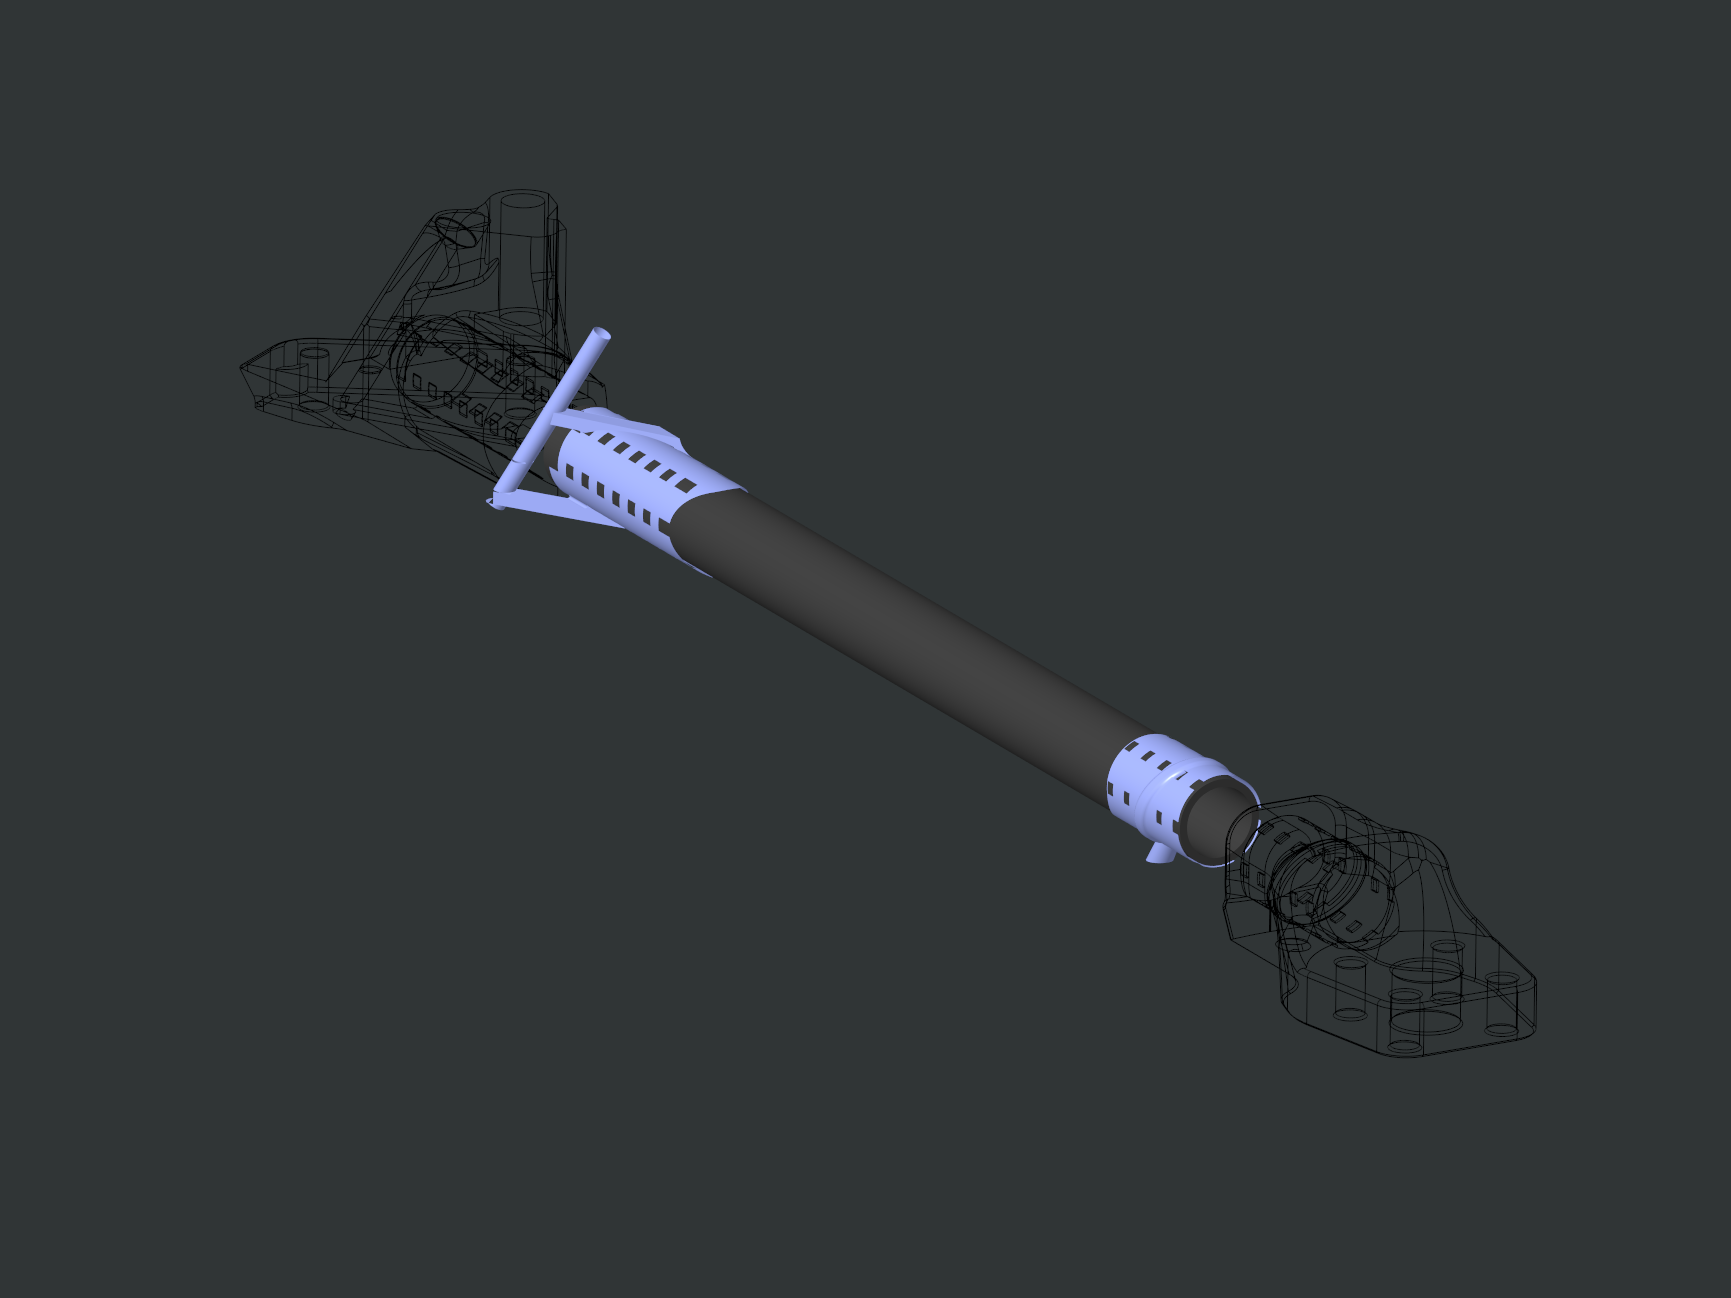
4. Assemble In Order
- Insert tube into arm boss first
- Then insert other end into motor mount
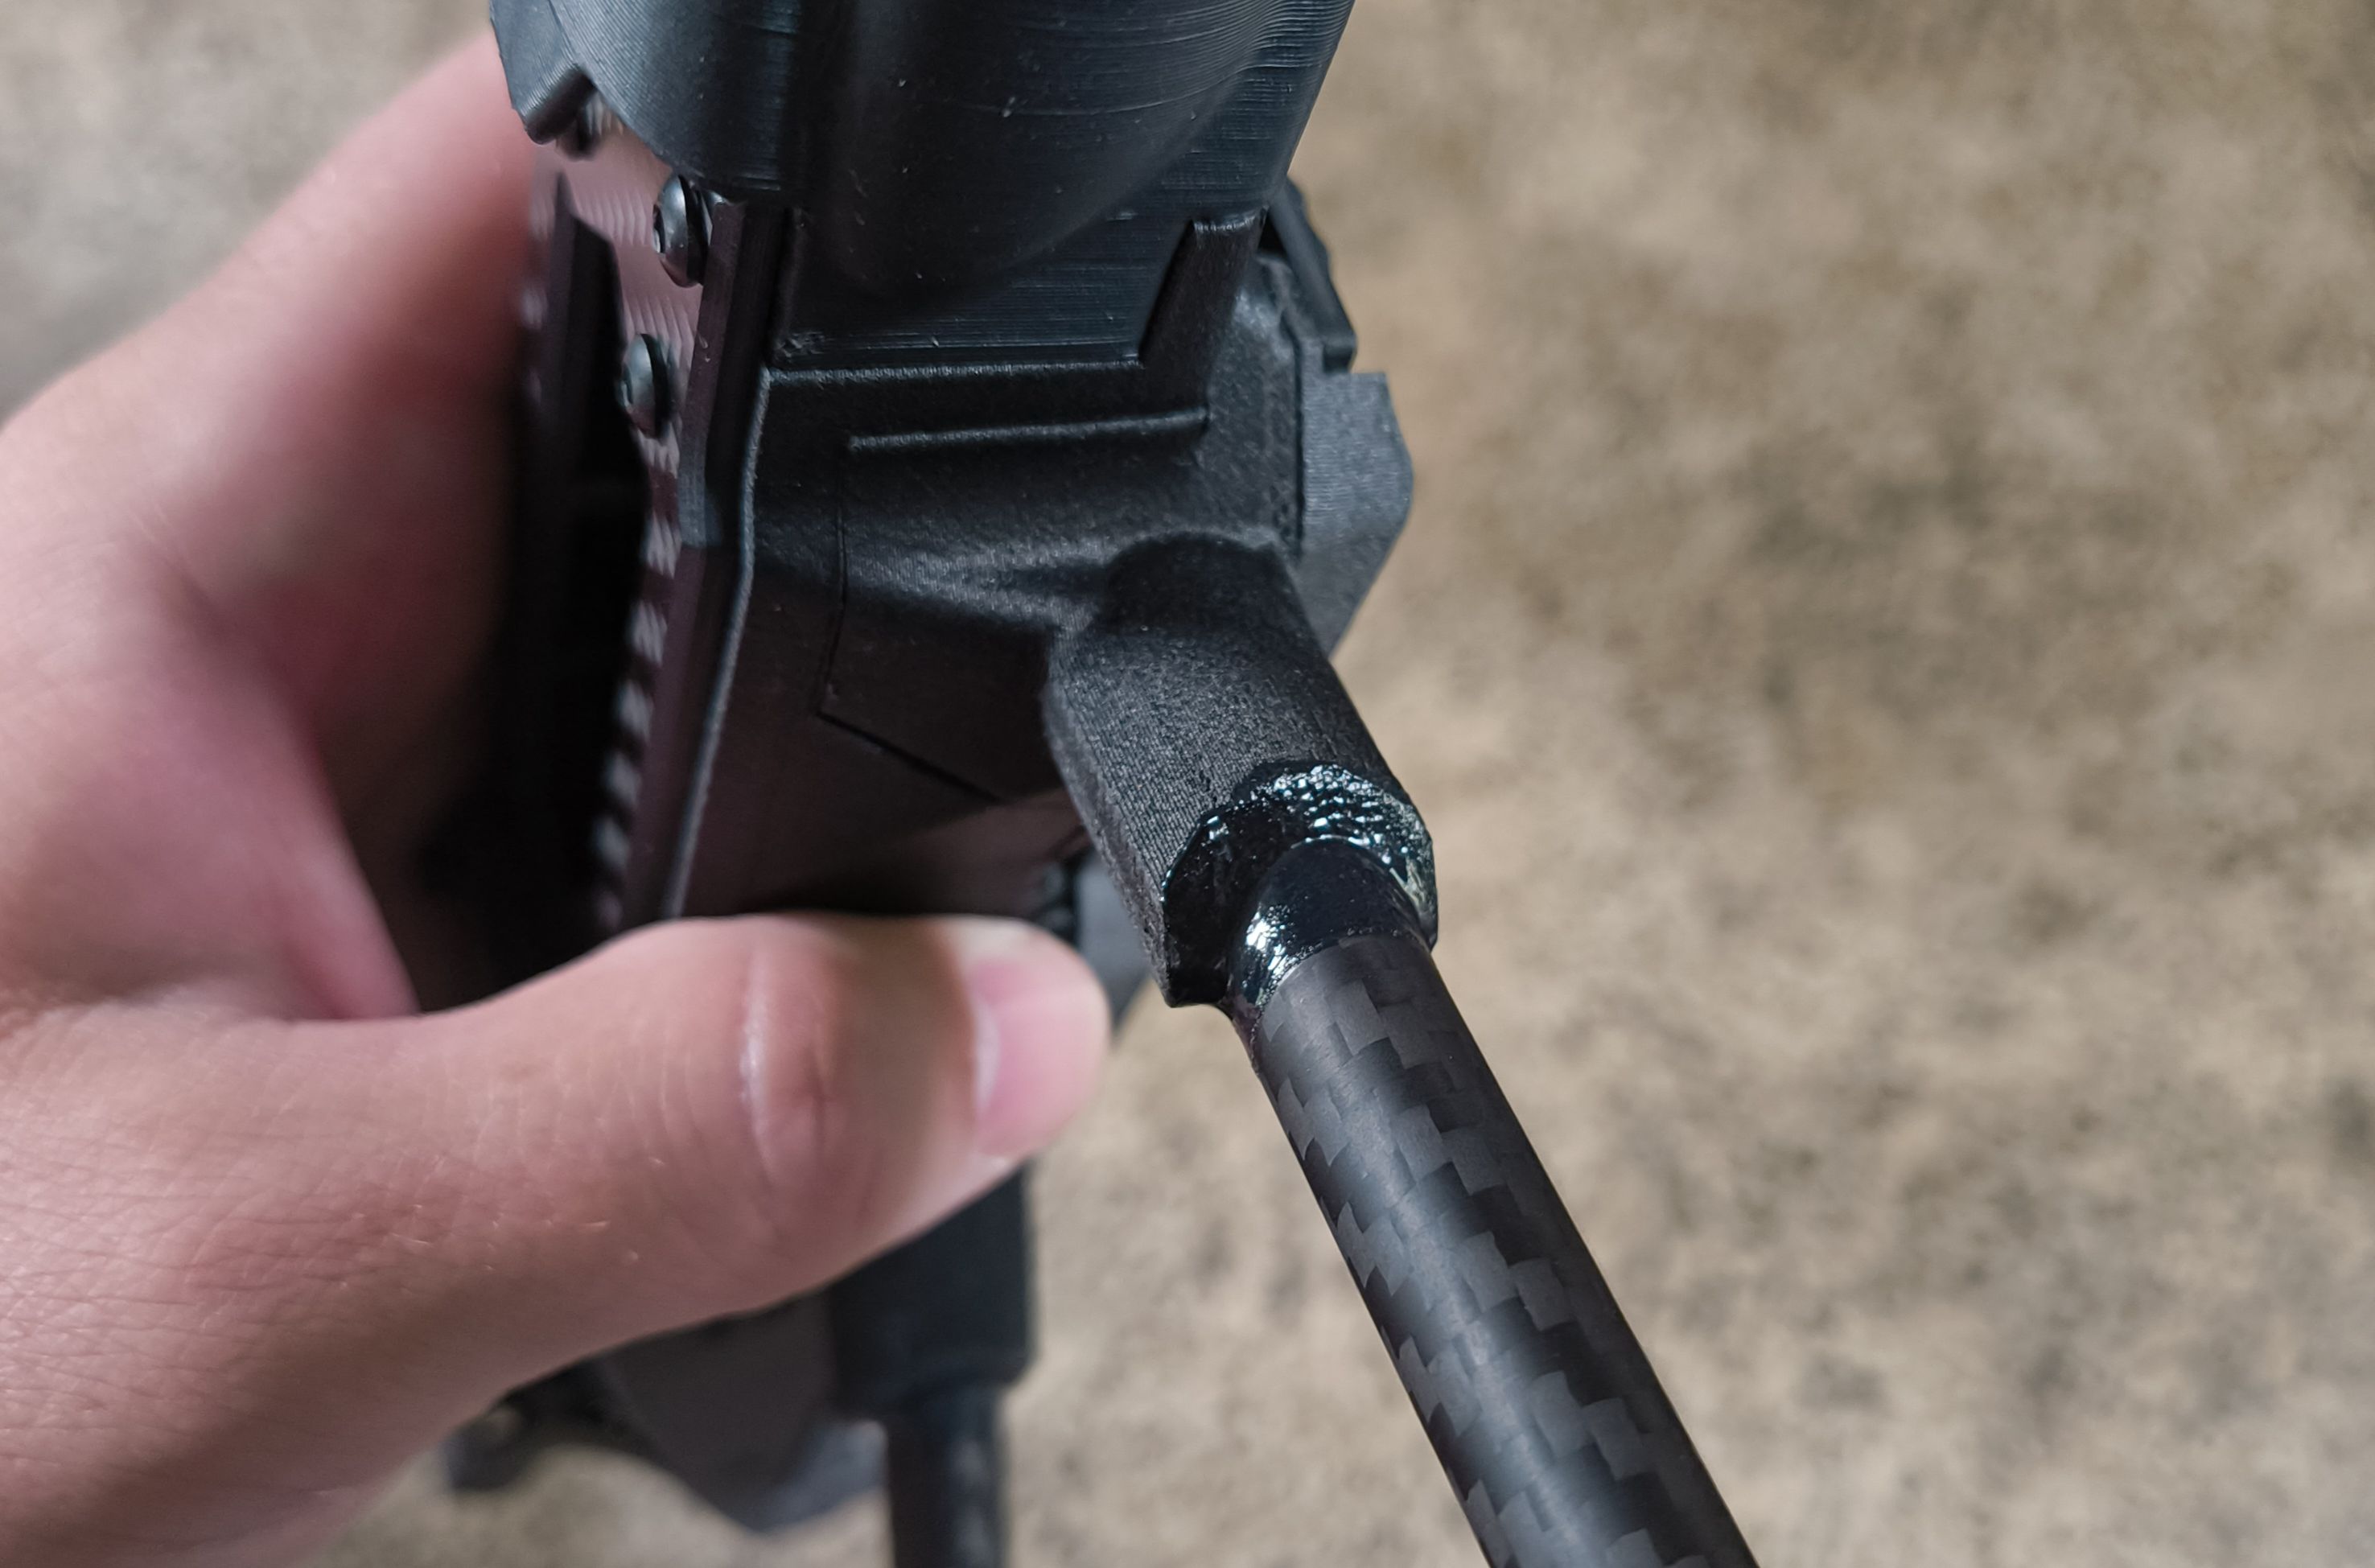
Push until seated. Small amount of squeeze-out is normal.

5. Alignment Check
Critical step.
- Place spacer under the arm boss end
- Whole arm should sit flat and planar
- Sight down the arm axis
- Rotate until motor mount and arm boss are in the same plane
5. Clean Up Bleed Out
Remove any epoxy that has squeezed out from the joint using a clean cloth or paper towel while the epoxy is still wet. This prevents a messy appearance and ensures the joint is clean.
6. Cure
- Lay flat, undisturbed
- 24 hours minimum for full cure
- Recommended: do two arms at a time, not all four
High Performance Motor Mounts
We offer the option of printing motor mounts with the high performance Continuous Carbon Fiber printing process provided by Markforged printers. This part can be up to 335% stronger depending on the exact load case.
Not all applications will require this level of safety factor. Though if your drone is used in professional applications requiring elevated safety factors, this is a go-to upgrade.
Acceptance Criteria
✅ No visible gaps at bond joints
✅ Motor mount and arm boss are coplanar
✅ Arm sits flat on surface (no twist)
✅ Squeeze-out cleaned before cure
Common Mistakes
| Mistake | Result |
|---|---|
| Arms not aligned | Motors not in plane, vibration issues |
| Too much epoxy | Messy, adds weight |
| Not enough epoxy | Weak bond, may fail |
| Moving before cure | Bond failure |
| Wet nylon parts | Weak adhesion |